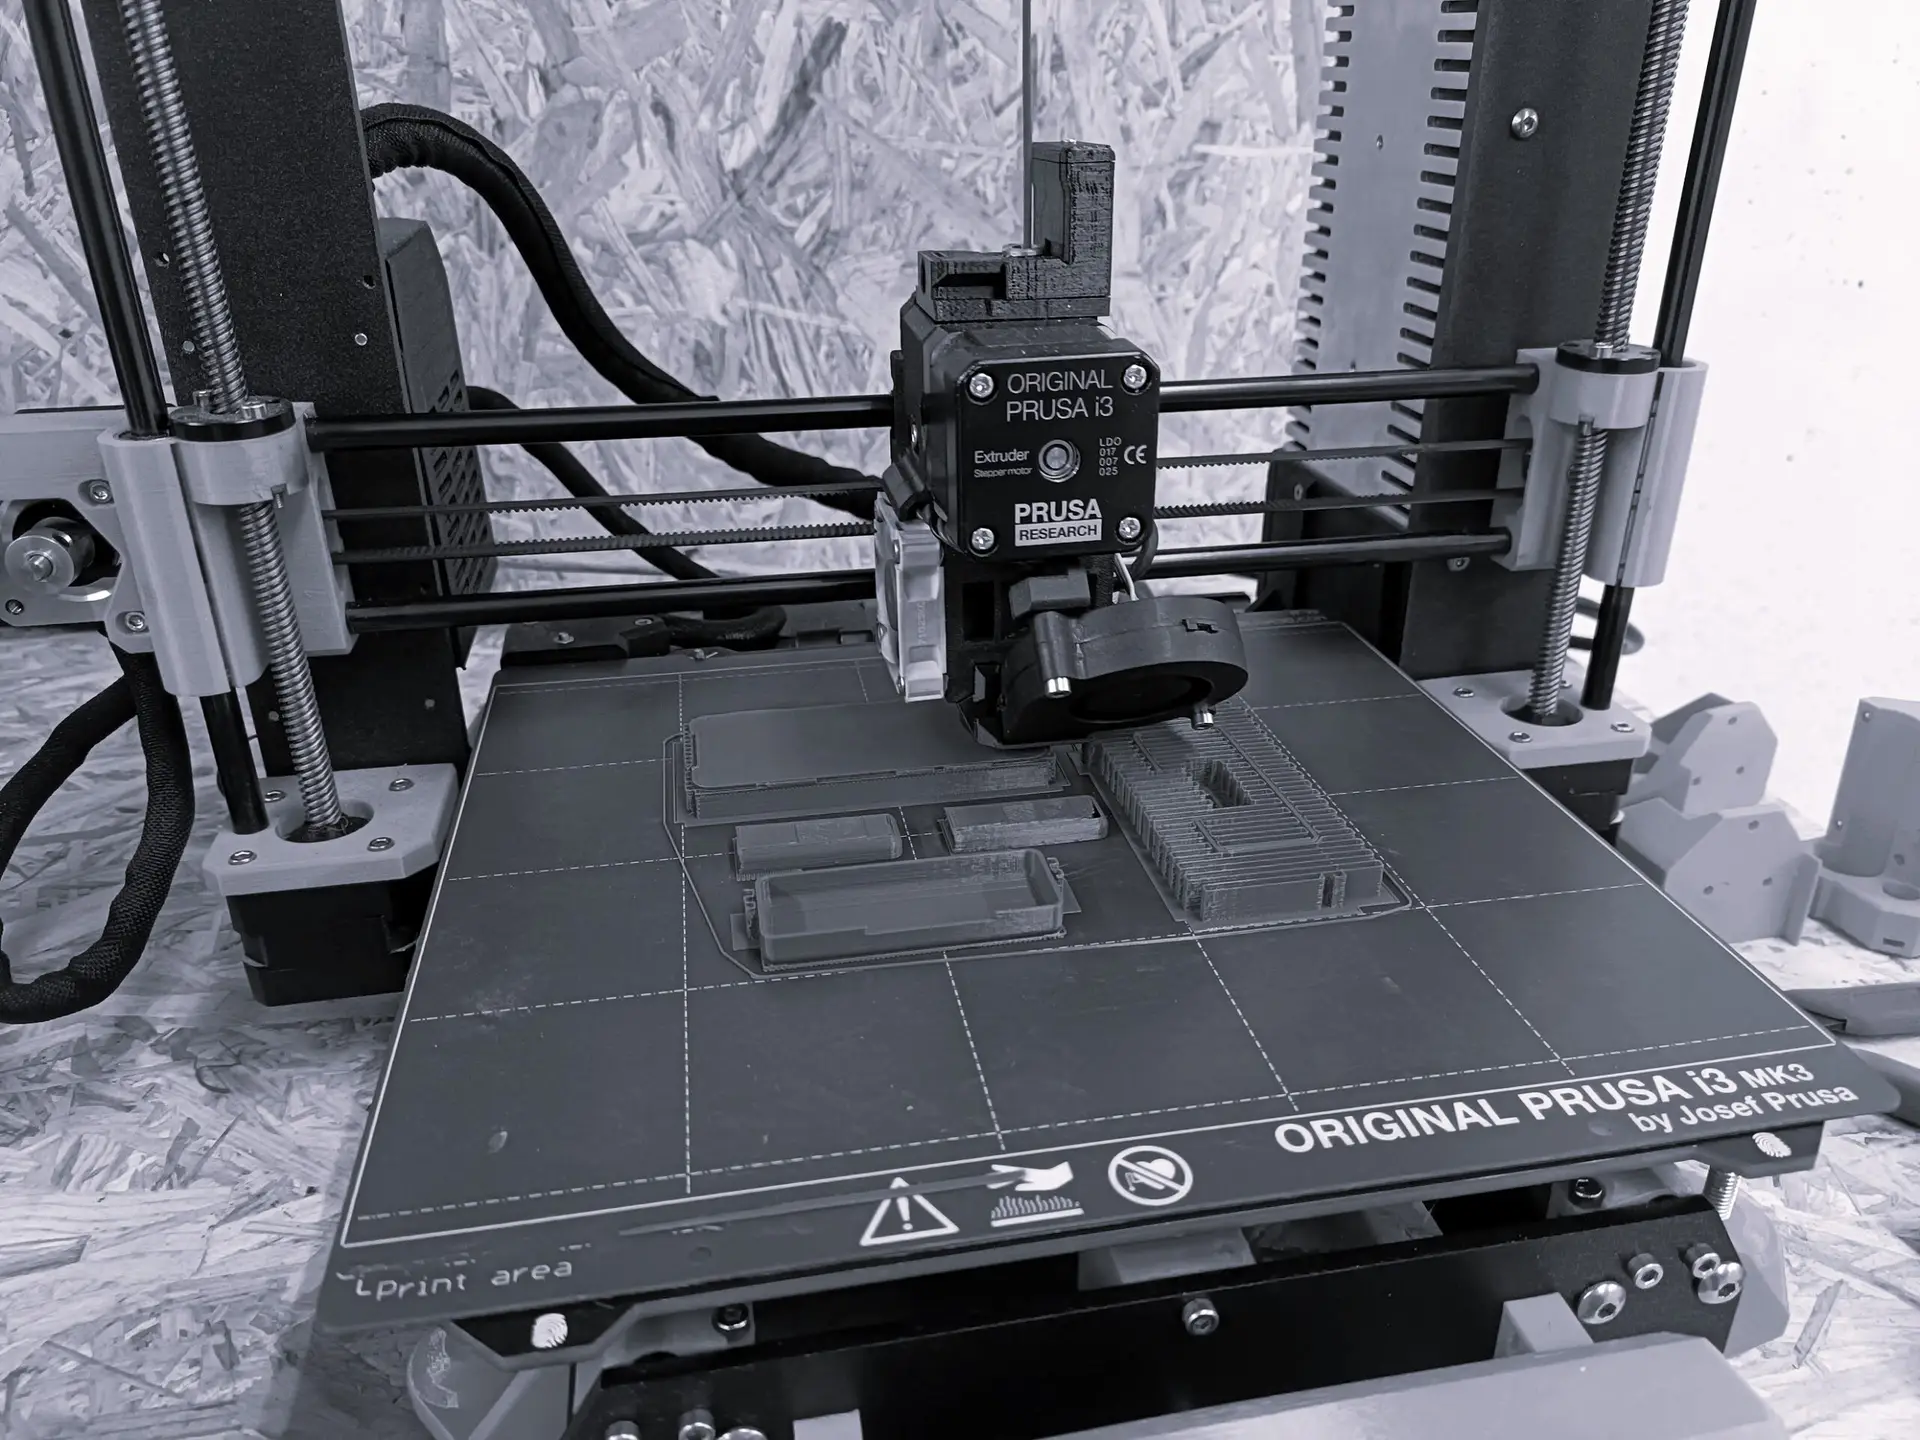
High-quality 3D printing for prototypes, parts, and models—fast, reliable, and precise.
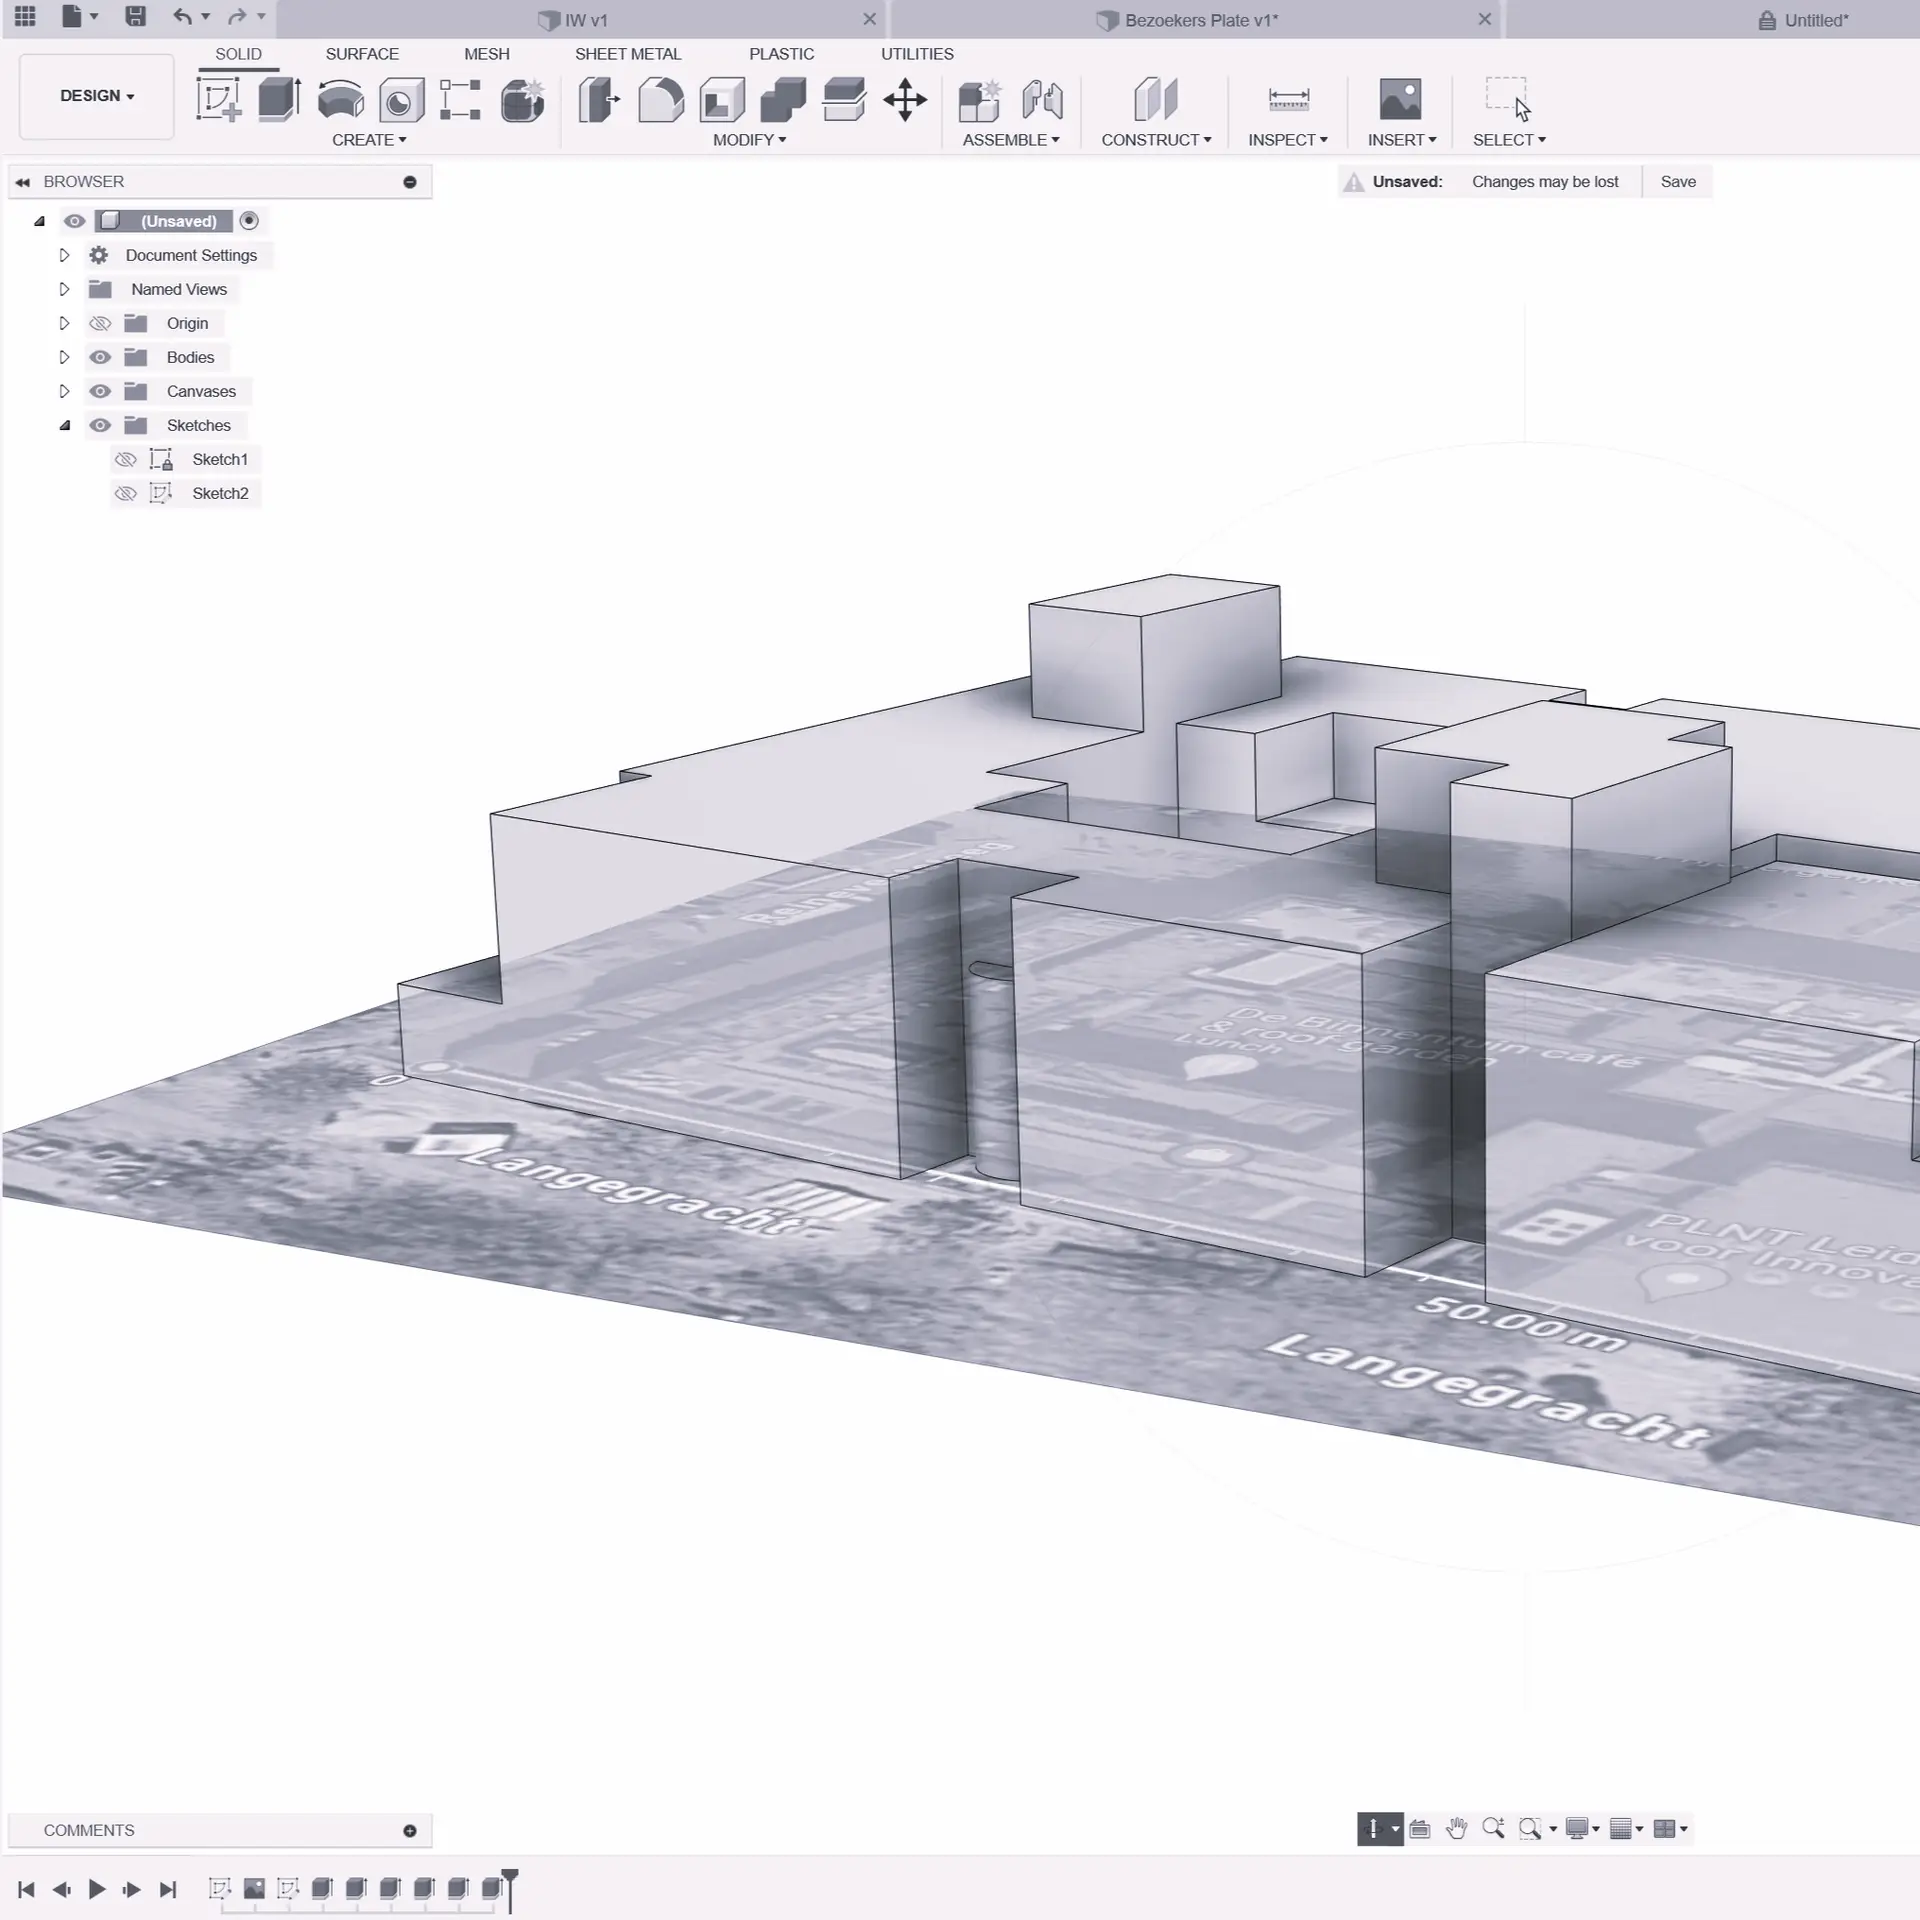
From idea to 3D model—custom design and prototyping support for every project.
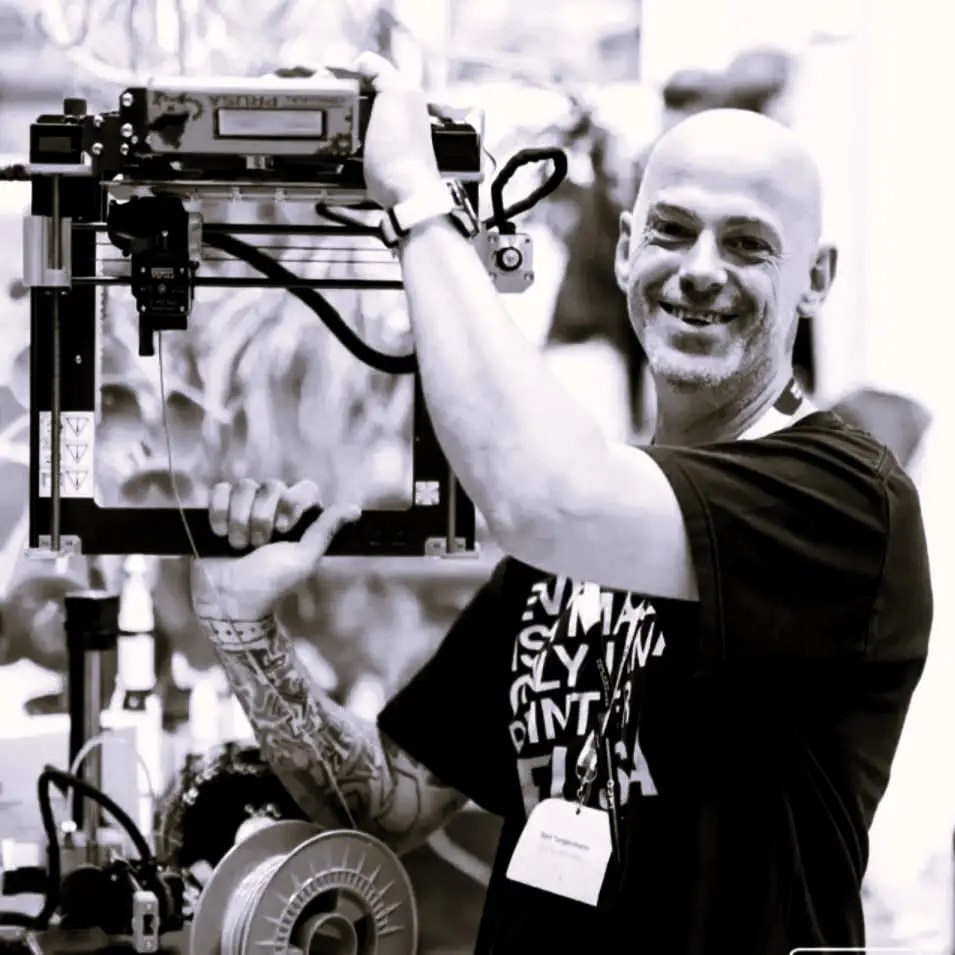
Learn 3D printing with our practical workshops and expert training at PLNT Leiden.
Expert advice and innovation support for successful, cutting-edge 3D printing projects.